Your cart is currently empty!
Making a Sticker Using AI
At Quaeleon’s Quest, all of the artwork we use is generated using AI tools. That includes nearly all the artwork you see on the website, in print and on our social media – the exceptions being diagrams and photographs.
So, it makes sense, then, that our promotional stickers are generated using AI tools as well. 😁
We will go through the rough process for generating a sticker artwork, and then transforming it into a sticker to be given out for free at events.
The Tools
To generate the sticker artwork, we will be using the latest and greatest version of Stable Diffusion. The latest version at the time of writing is Stable Diffusion XL 1.0, which you can find more information about here.
This is being run on a Windows desktop computer using freely available tools. In addition, we will use Adobe Photoshop and Adobe Illustrator to edit the images afterwards.
The Idea
The most important part of any generation is the idea. You need to really clearly know what it is you’re after, so that you can write a good description for the generation.
In this case, we knew we wanted a winking wizard, just the head, and a traditional looking wizard that would be easily recognisable. The idea for the sticker was to use it as a reward for people who ask us about Quaeleon.
Generation
First off – the prompt. We started by using the following prompt to try and get some results:
A sticker design of a wizard, winking, sticker artwork
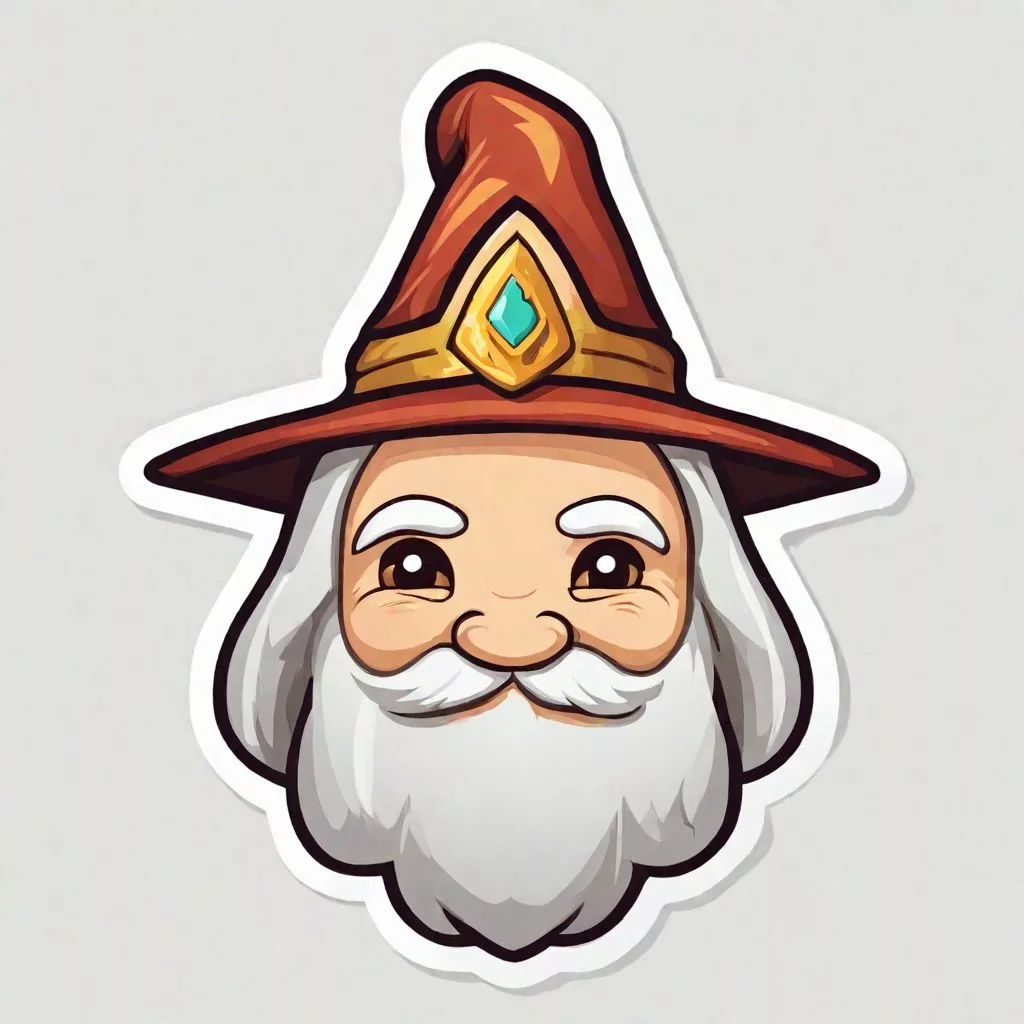
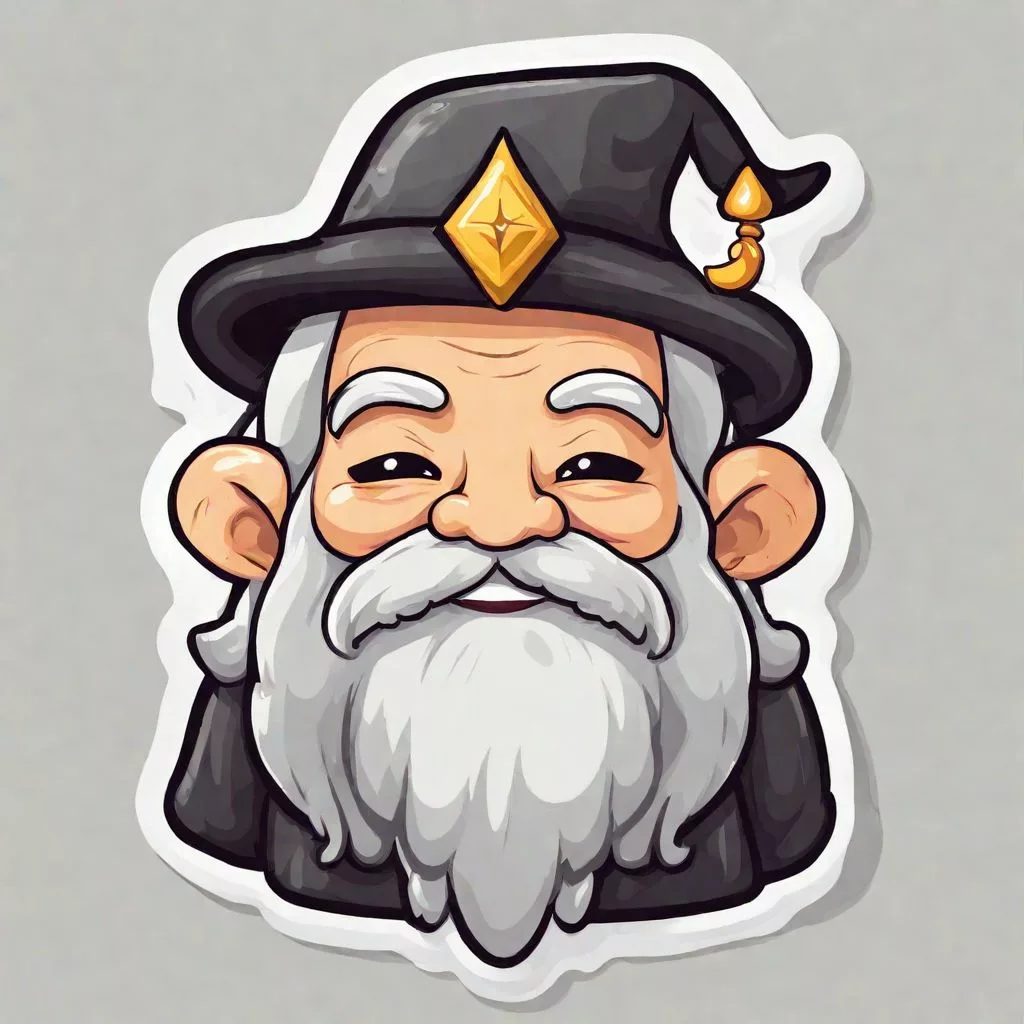
And here is the sorts of results we get:
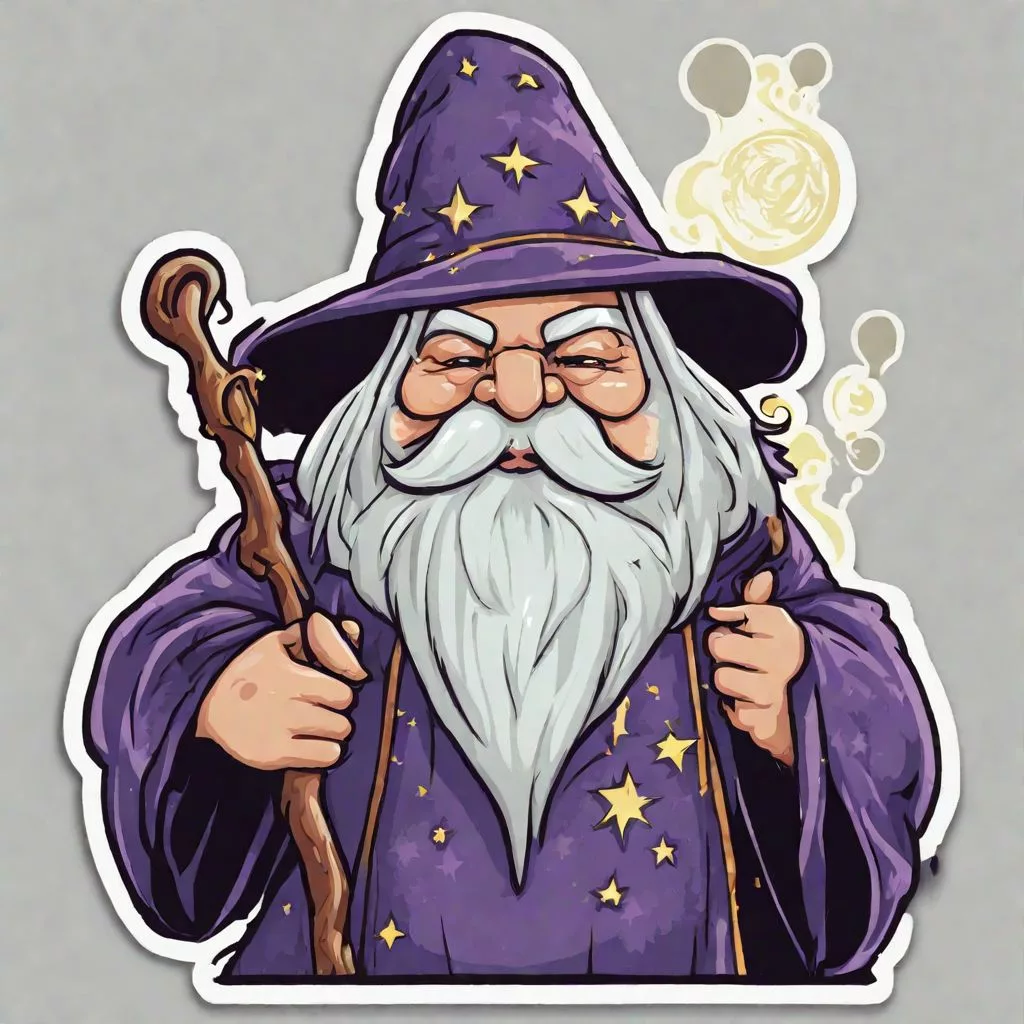

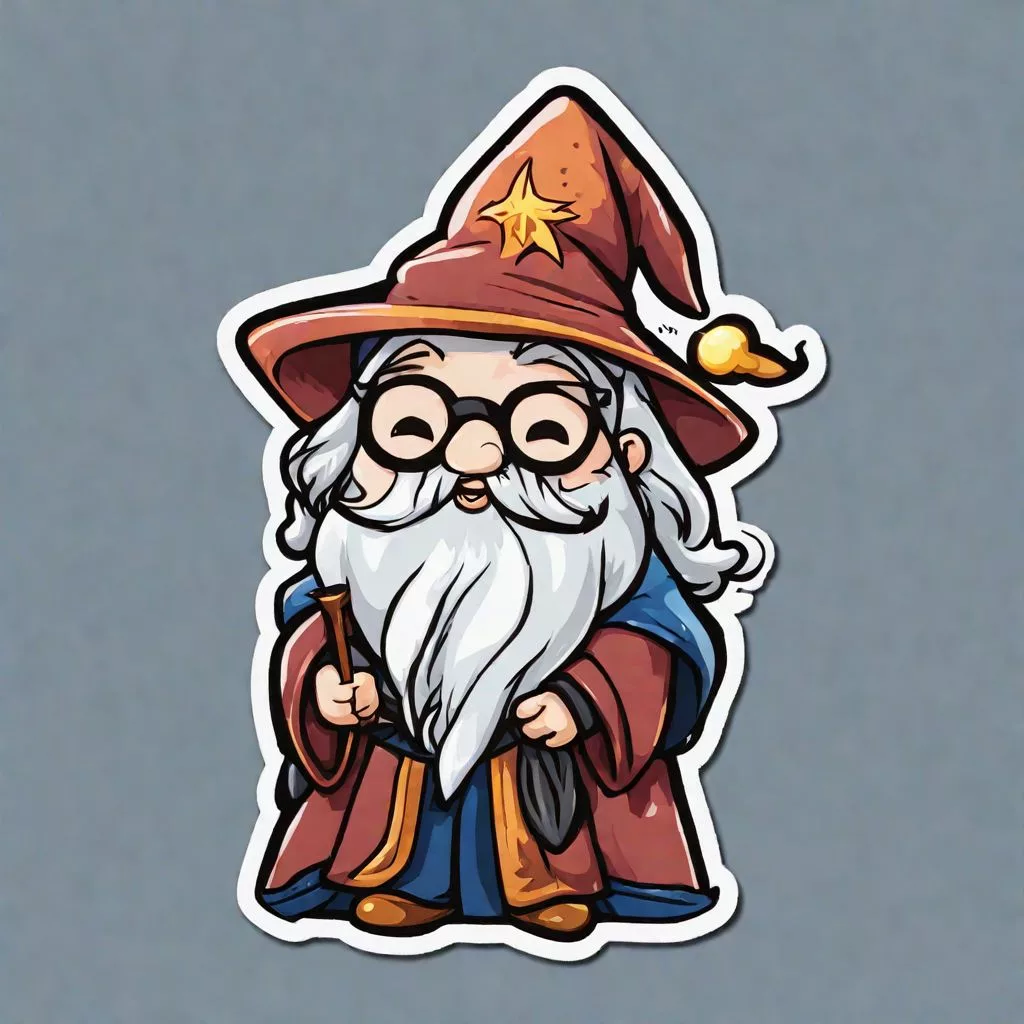
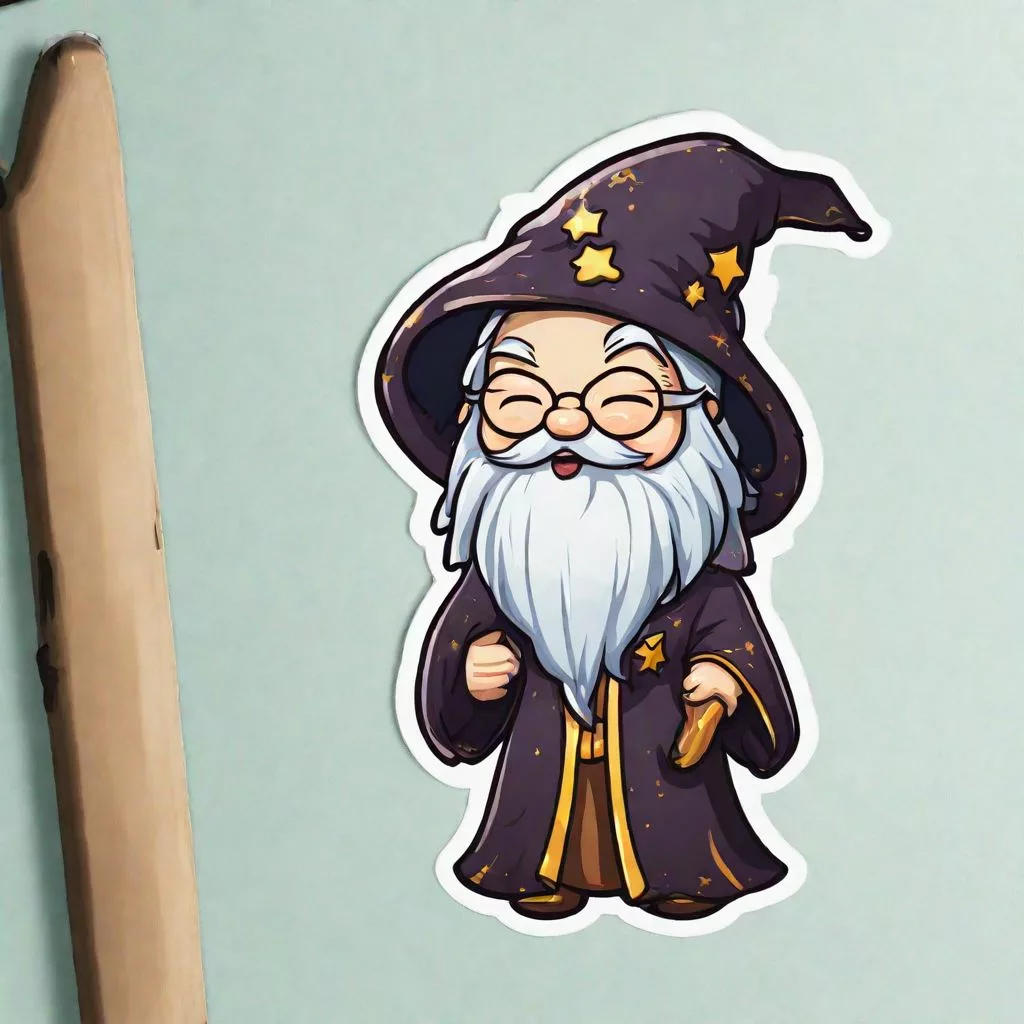
Not quite what we were after…but, after lots of experimentation, we are going to use the following prompt:
Positive: (Cute:1.1) old wizard, face, (winking:1.3) face, wink (sticker:1.2) art chibi, quaeleon, simple vector, sly looking <lora:StickersRedmond:1> Stickers, Sticker
Negative: (glasses:1.1) unaestheticXL_Sky3.1
Okay, that looks a bit weird, right? What are all those brackets? And what is “unaestheticXL_Sky3.1”?
Well, most of that is outside the scope of this article – but to summarise:
- Positive and Negative prompts guide the generator towards or away from their content.
- Round brackets define the weight of the text within with the number after the colon. >1 = higher weight, <1 = lower weight.
<lora:StickersRedmond:1>is a special adapter for stable diffusion that guides us more towards things that look like stickers.unaestheticXL_Sky3.1is a special keyword that triggers another type of adaptation to guide images away from unaesthetic results.
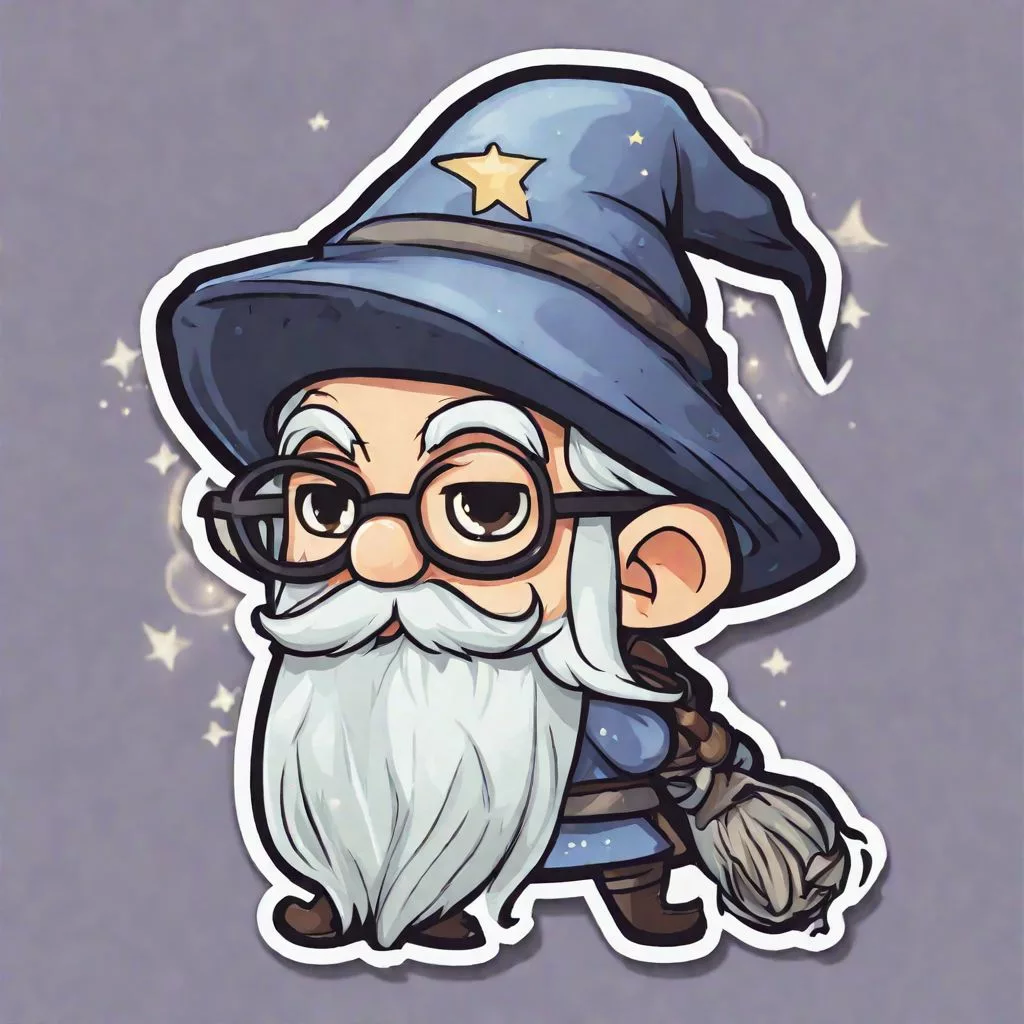
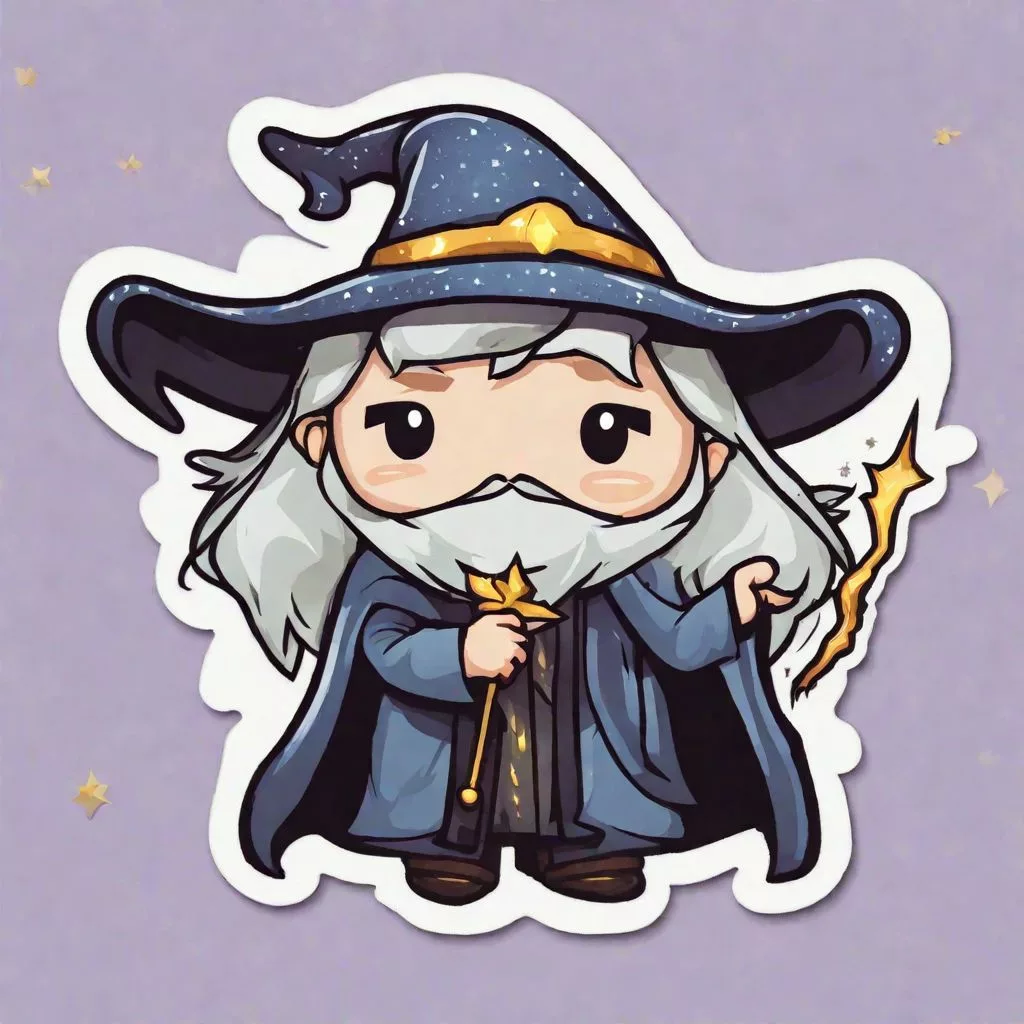
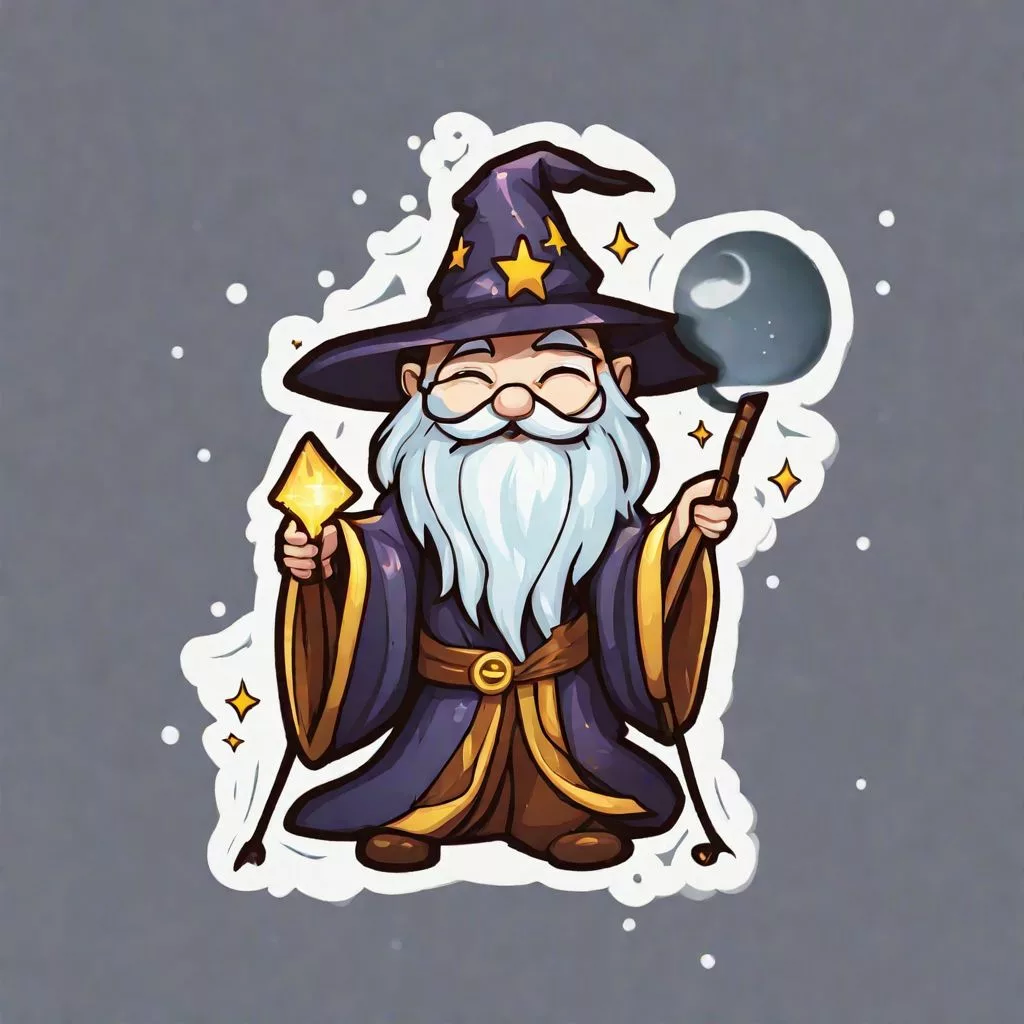
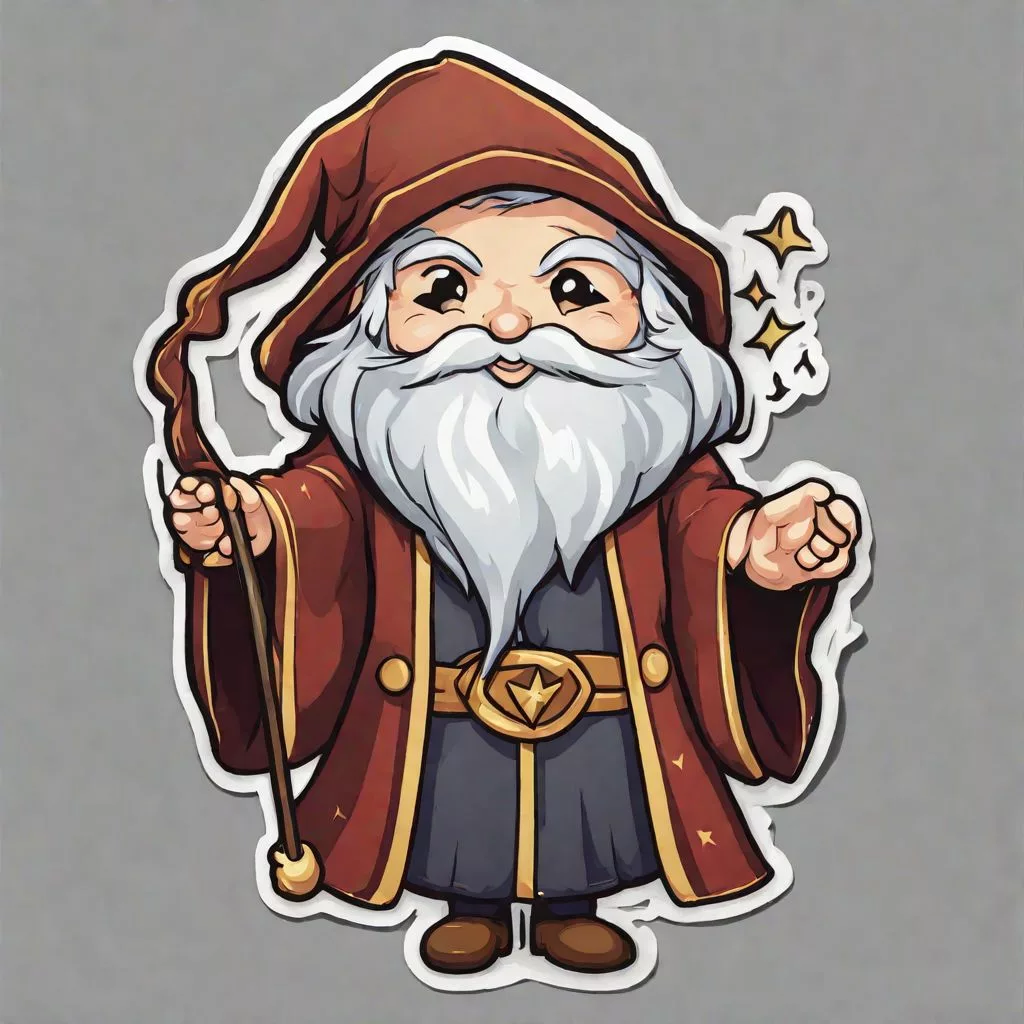
And here’s the sorts of results we get:

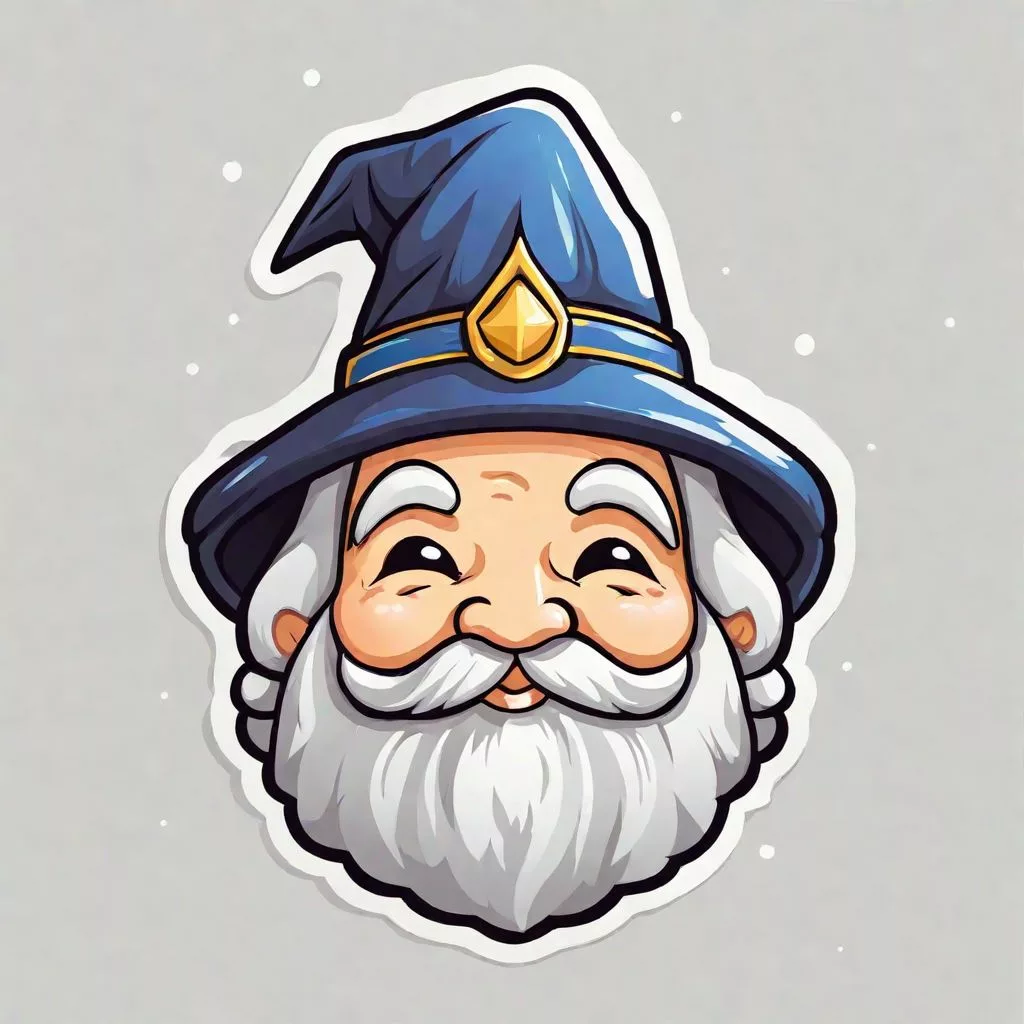
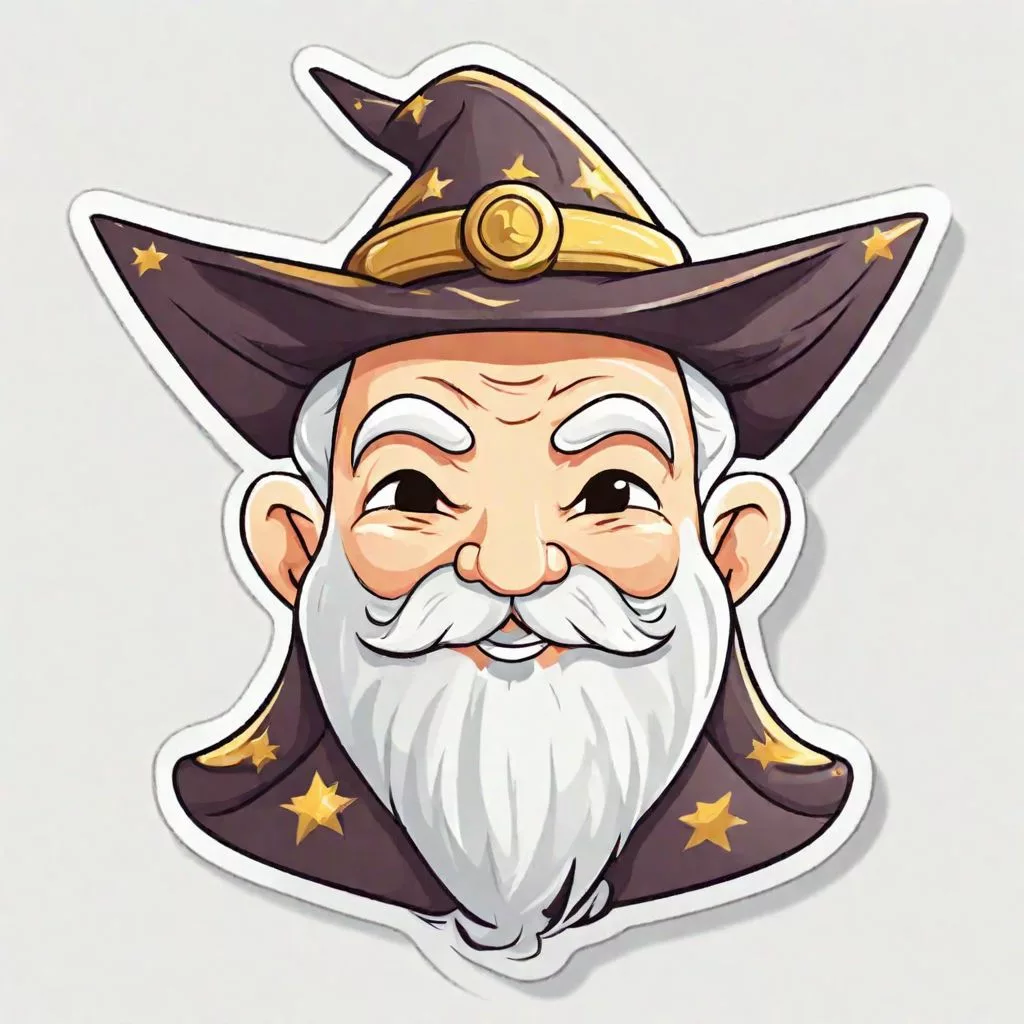
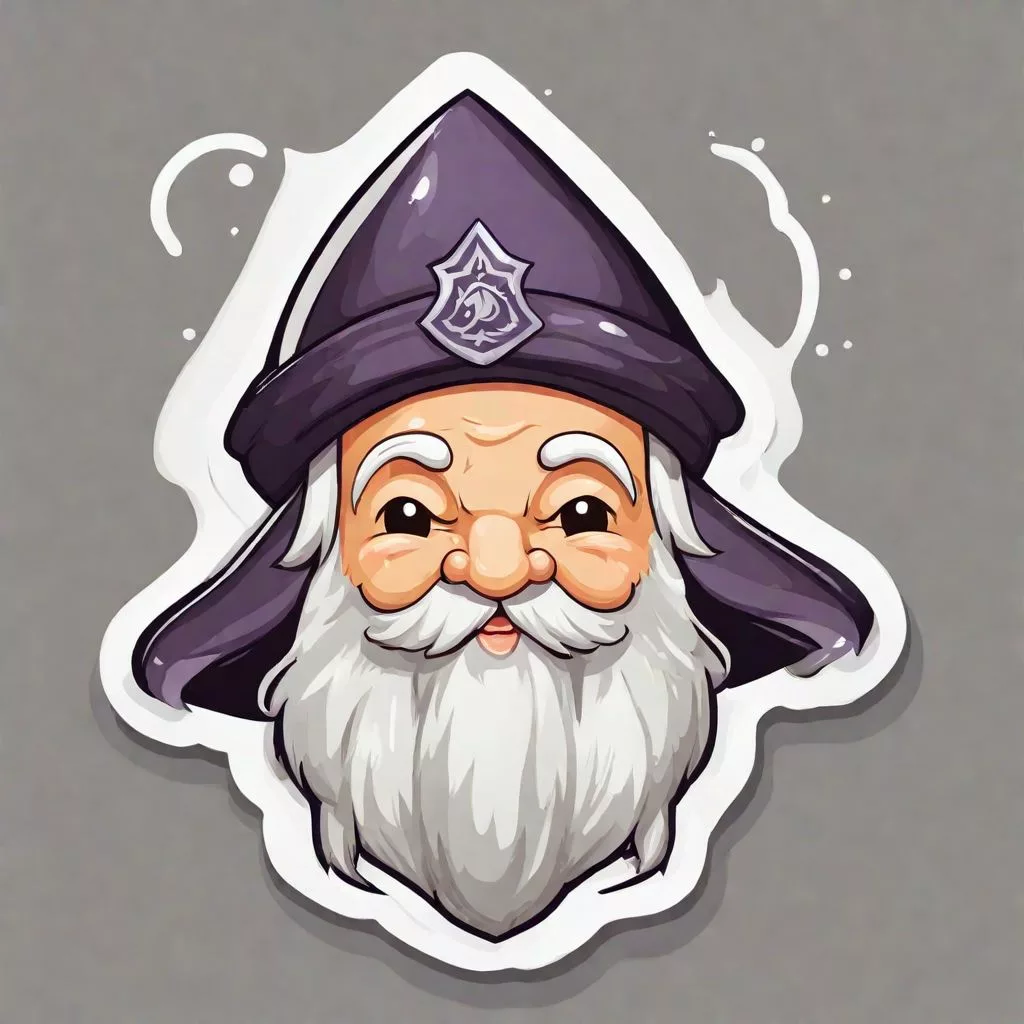
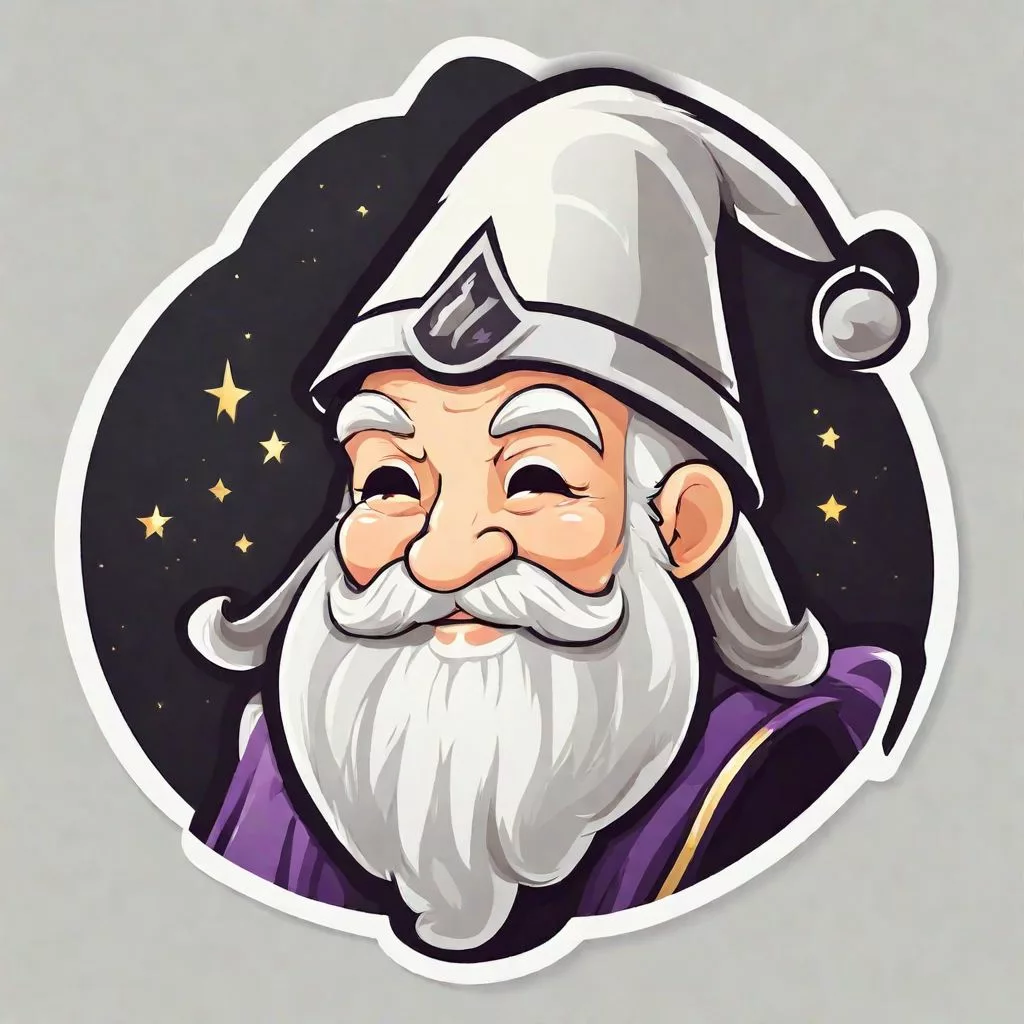
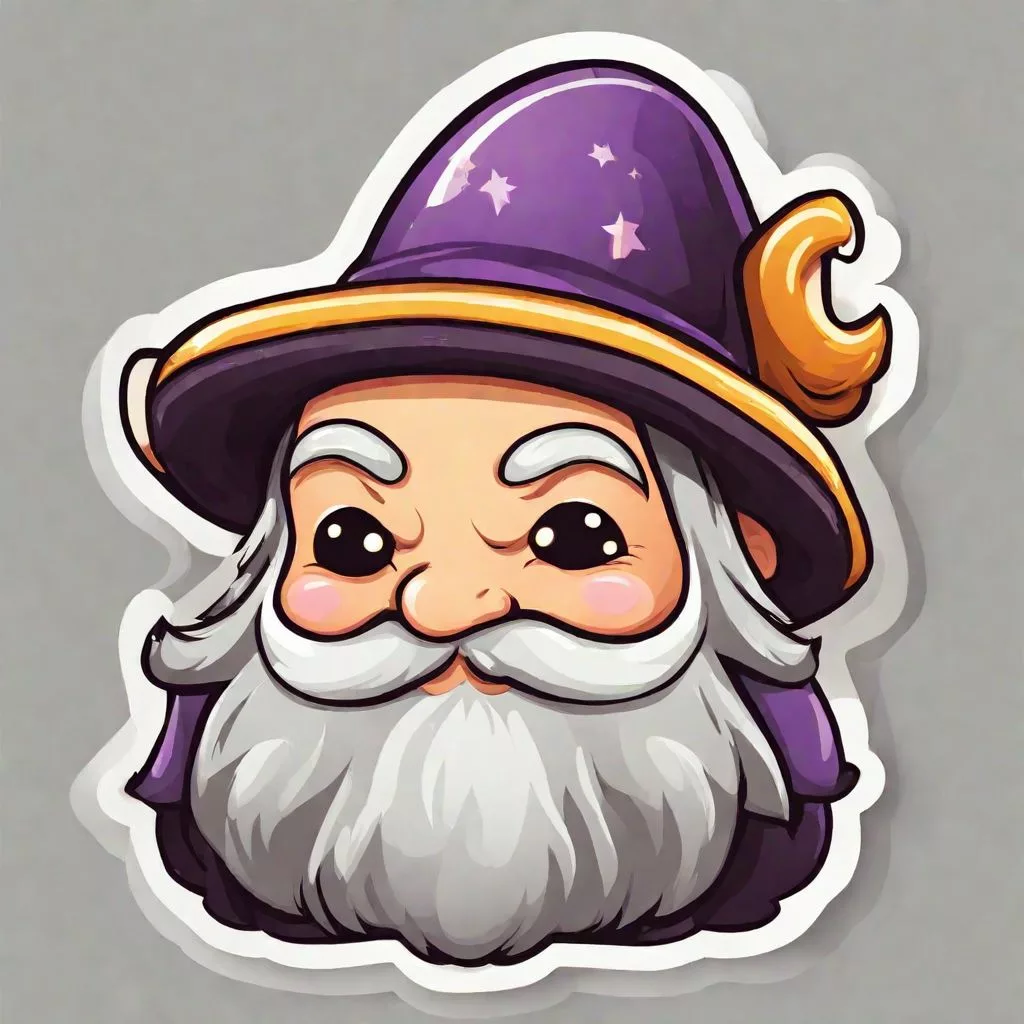
Great! A few more generations and we get some stuff we can use. But there is a big problem – for some reason, the AI has a lot of trouble generating a winking face! After 100’s of generations, and combinations of keywords, not a single one of them is winking! So we are going to have to edit the file in Photoshop a little bit.
Refining
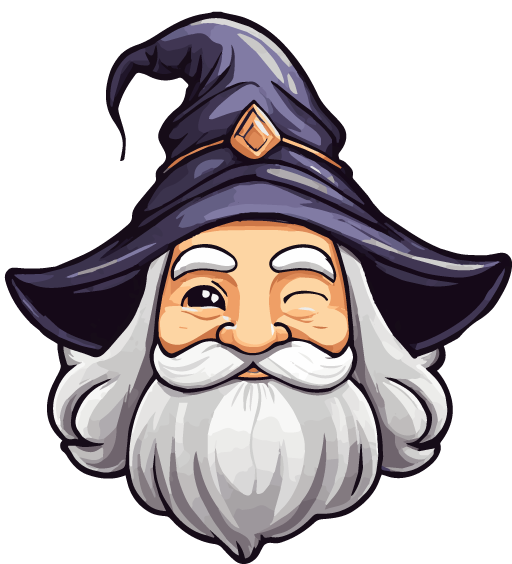
There are two images I liked out of this – one for the face and one for the hat – so we are going to combine them. Oh, and of course, we need to make the wizard be winking! So a little photoshop magic gives us:

Finally! A winking wizard 🎉 I also took the opportunity to tidy up the beard and fix some of the lines here and there.
Creating a Sticker
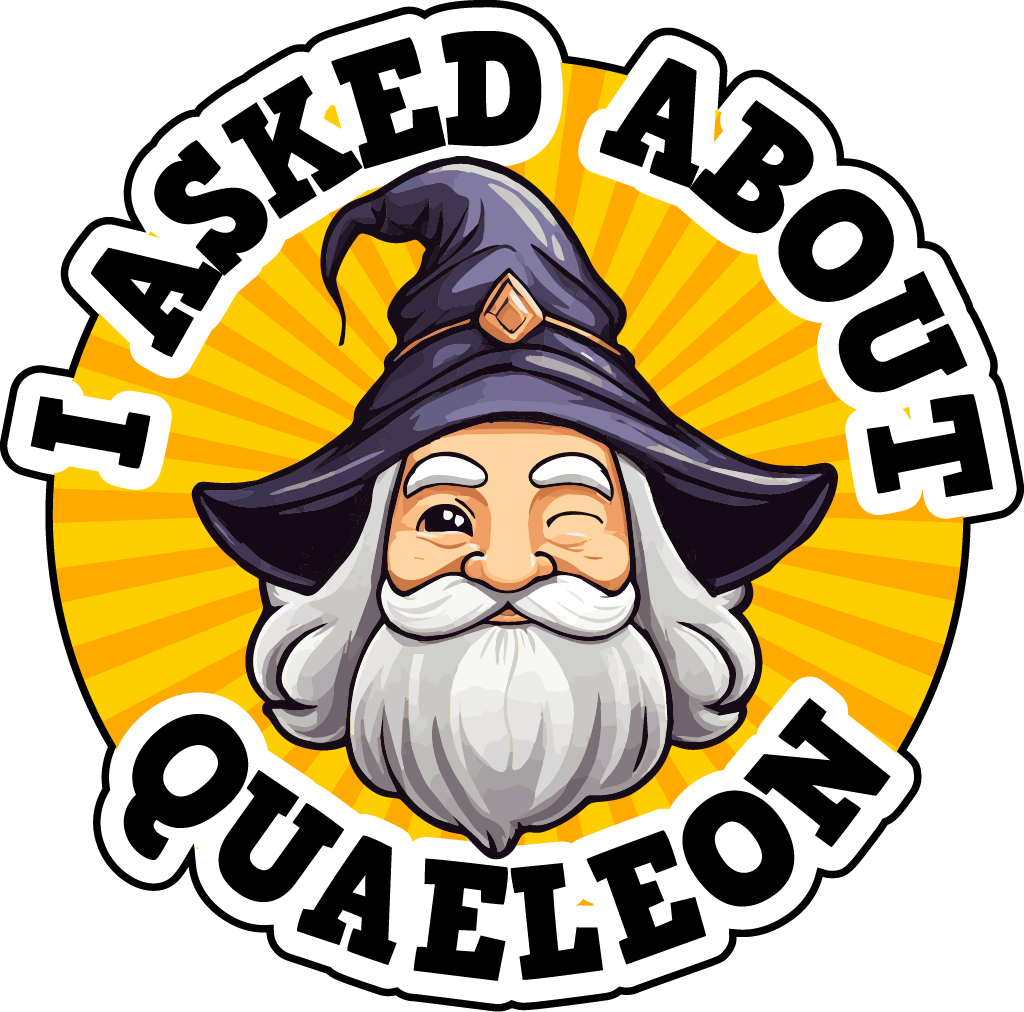
The last step is turning our artwork into something we can use as a sticker.
By taking the image into Adobe Illustrator, we can size the artwork to approximately 50mm. Then, we can image trace it to get a nice high resolution version we can edit using vectors.
Once we have that, we can start to turn the design into a sticker – Nice!
Share this:

by
Tags:
Leave a Reply